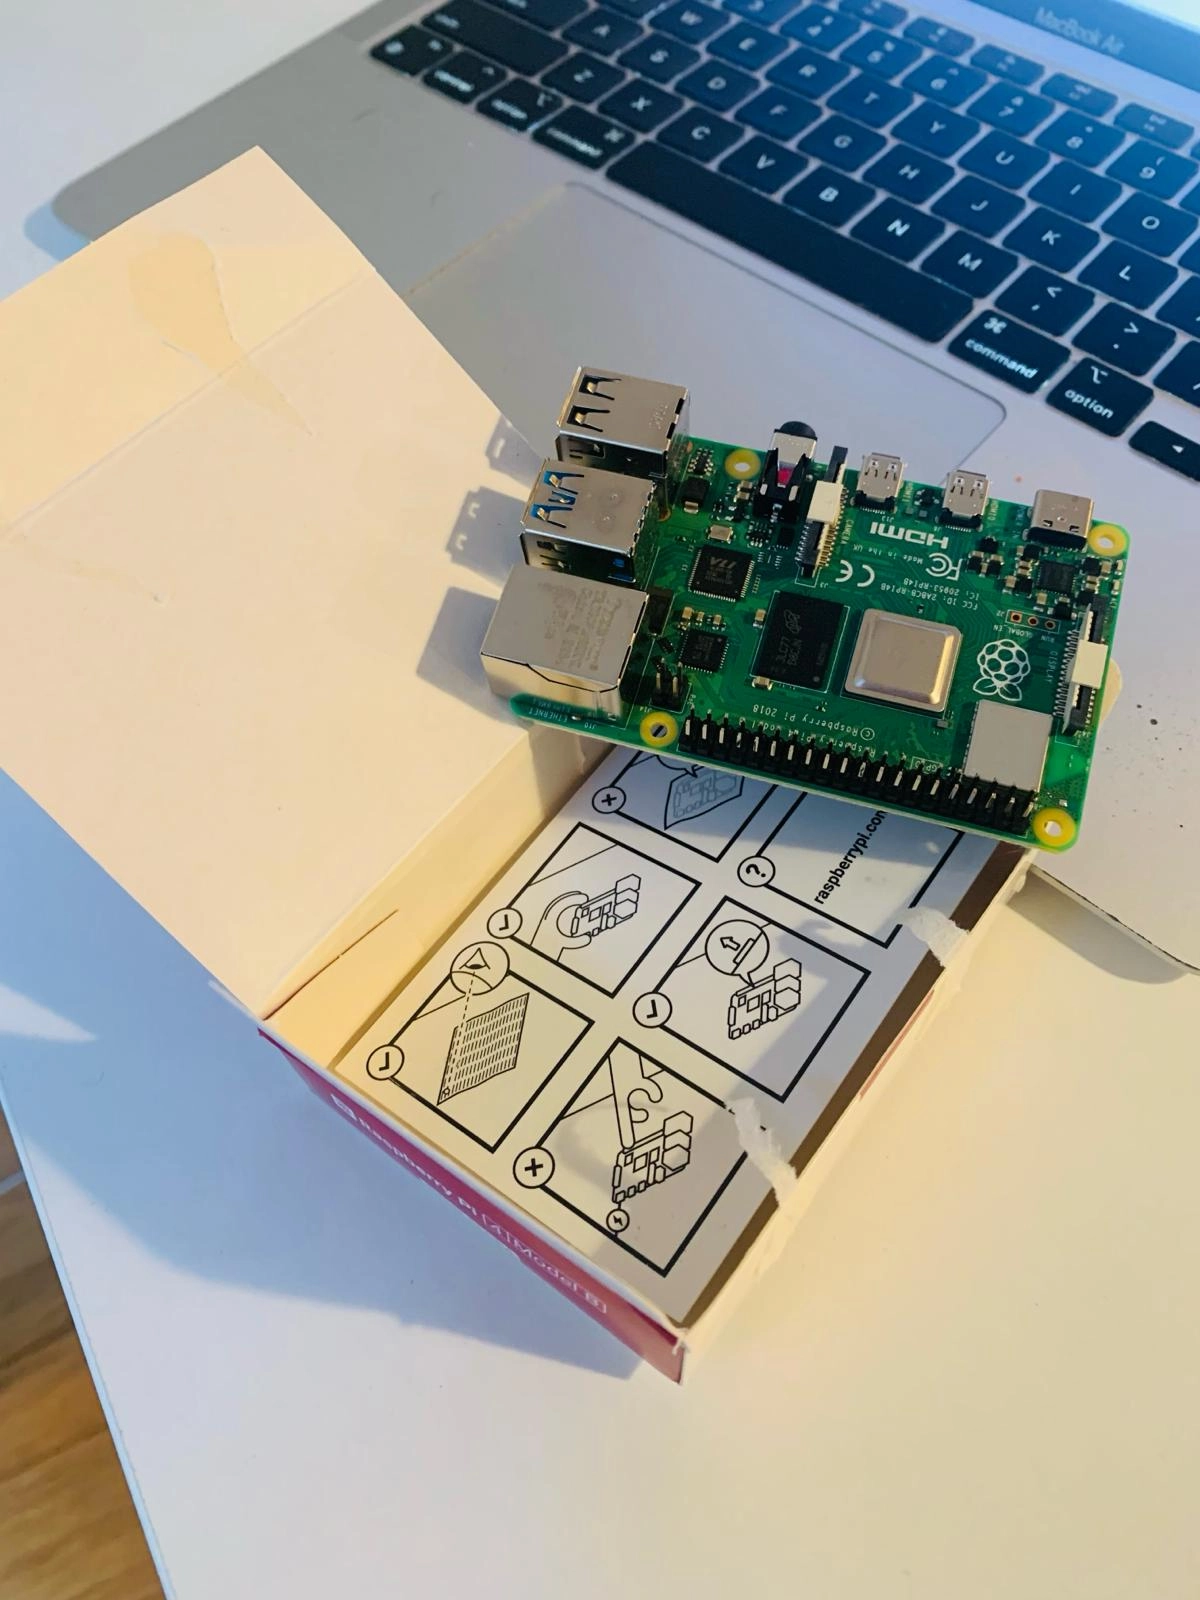
A few months ago, I suddenly thought it was cool to buy a Raspberry Pi. Indeed, it was cool!
I then set up a headless (no monitor, no keyboard) Raspberry Pi with Pihole installed for network-level ad blocking. Pihole does this by working as a DNS resolver that blocks (well, technically, resolves into an invalid IP address) known tracker/ad domains. So, I won’t need an extension on all browsers and devices to block ads. Fast forward to today, and it’s doing exactly that in our home network. The only problem is that it doesn’t block Youtube Ads! Other than that, it’s perfect. I’m documenting the full process.
The items I bought (Links are to amazon.fr, not affiliated)
Raspberry Pi 4 Model B (8GB) - 95,88€
USB-C Hub to connect the SD Card to my Macbook - 19,99€
The items I already had
Macbook Air to boot the SD card
16GB SD Card
FAQ
Some FAQs. Feel free to skip.
Why headless?
Well, I work mostly with Linux servers via SSH. The idea of connecting a monitor and keyboard didn’t interest me much. Therefore, I went the headless route. This way, I connect to the Raspberry Pi via SSH. Both your computer and the Raspberry Pi must be on the same network. If you don’t have much experience with a terminal/Linux environment, it will take some time to adjust to, but it’s not rocket science.
How it works? What OS?
First, you need to boot an OS to the SD card. Then, you plug it into the Raspberry Pi. That’s pretty much all. You can run many Linux-based (and others as well I think) operating systems. I decided to go with the officially supported Raspberry Pi OS, which is also based on the Linux kernel.
My First Try (This didn’t work)
Before we get started, I’ll mention this. There’s one thing you need to get correctly: your Wifi name and password.
Most online tutorials suggest using a wpa_supplicant.conf file to configure your Wifi details. However, the latest versions of Raspberry Pi OS DO NOT SUPPOR THIS METHOD! So, don’t waste 2+ hours figuring that out like me :D
Raspberry Pi Headless Setup (with Raspberry Pi OS Imager)
First, download the Raspberry Pi OS Imager to your computer. It’s available for Mac, Windows, and Ubuntu.
Open the imager. It will look like this:
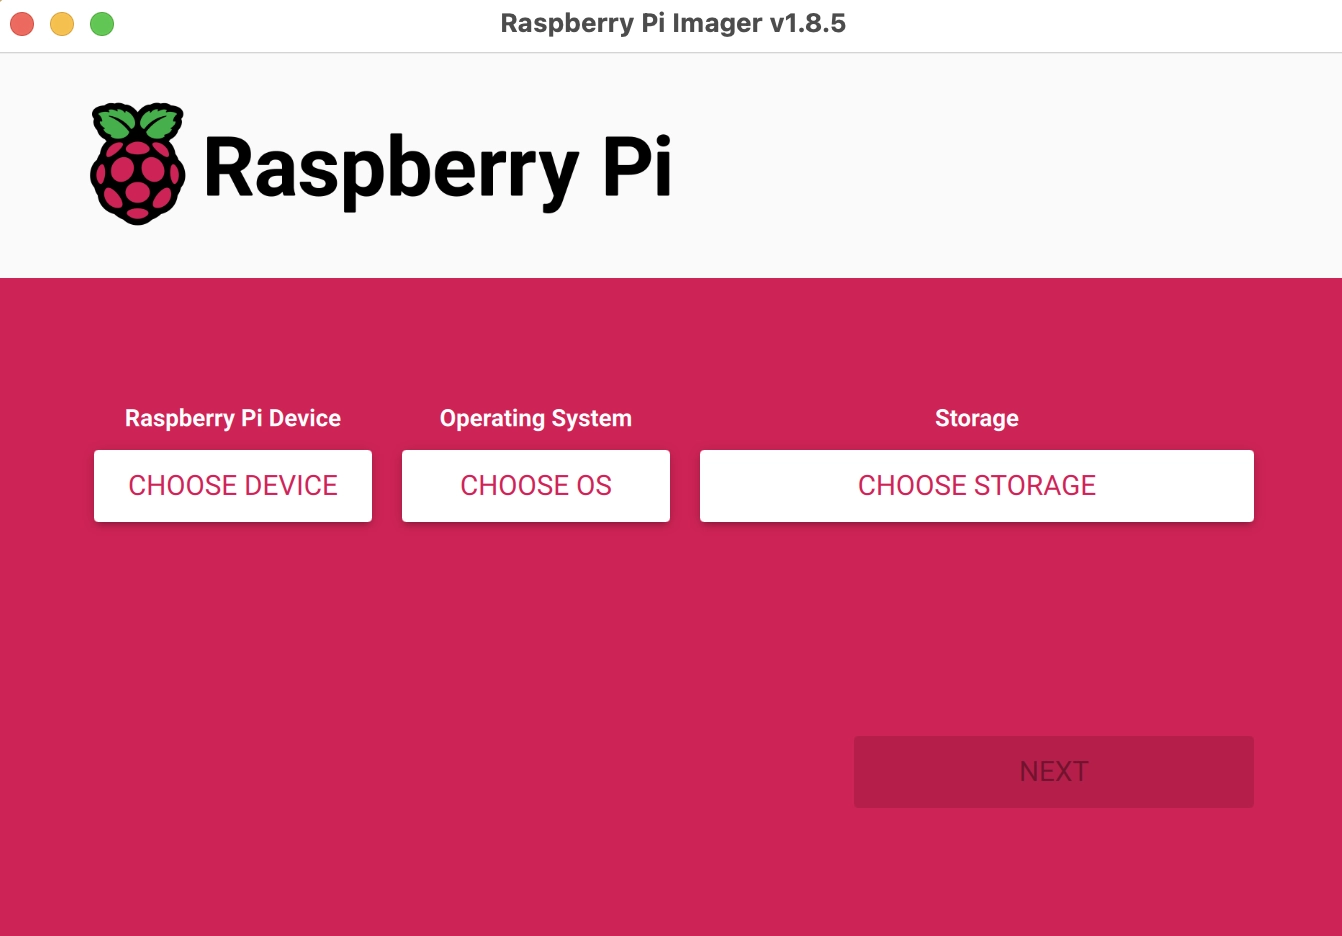
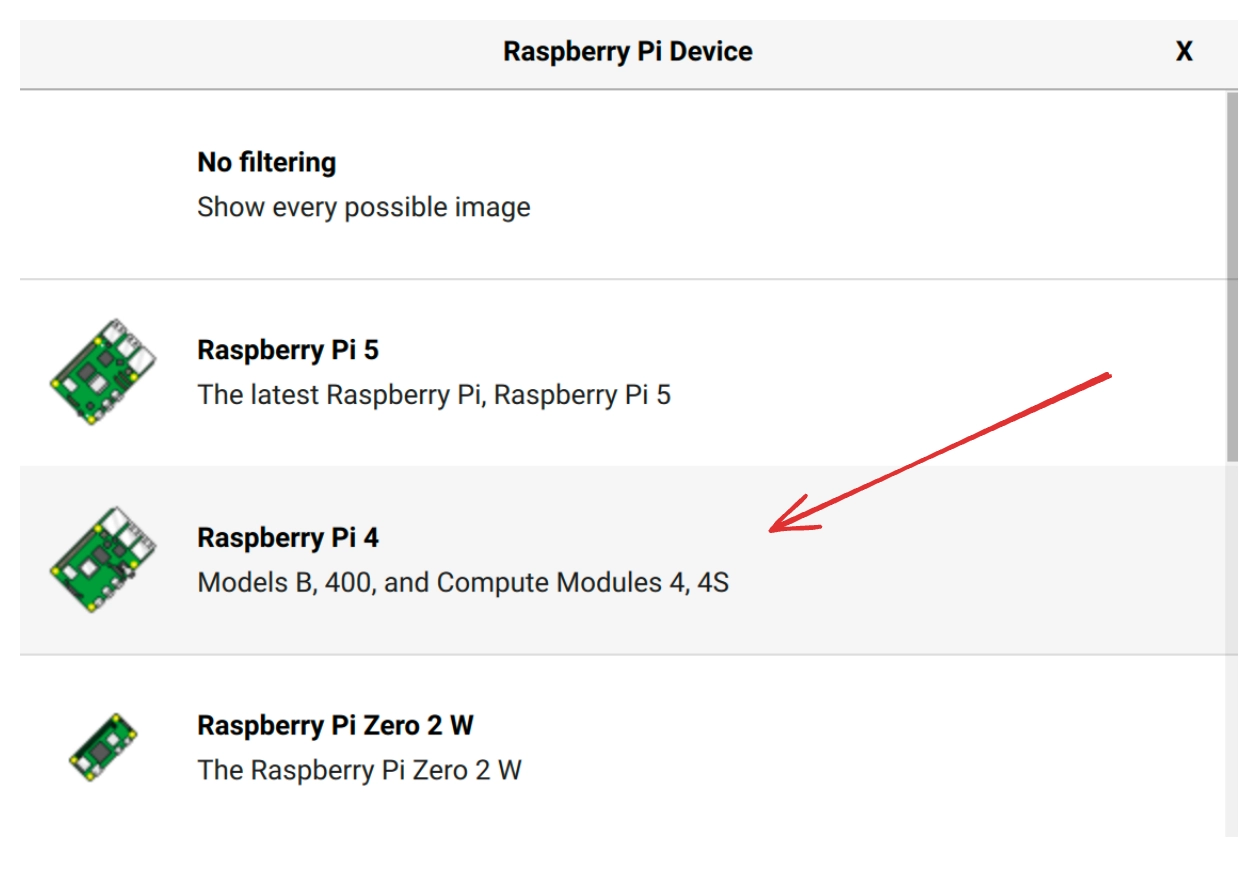
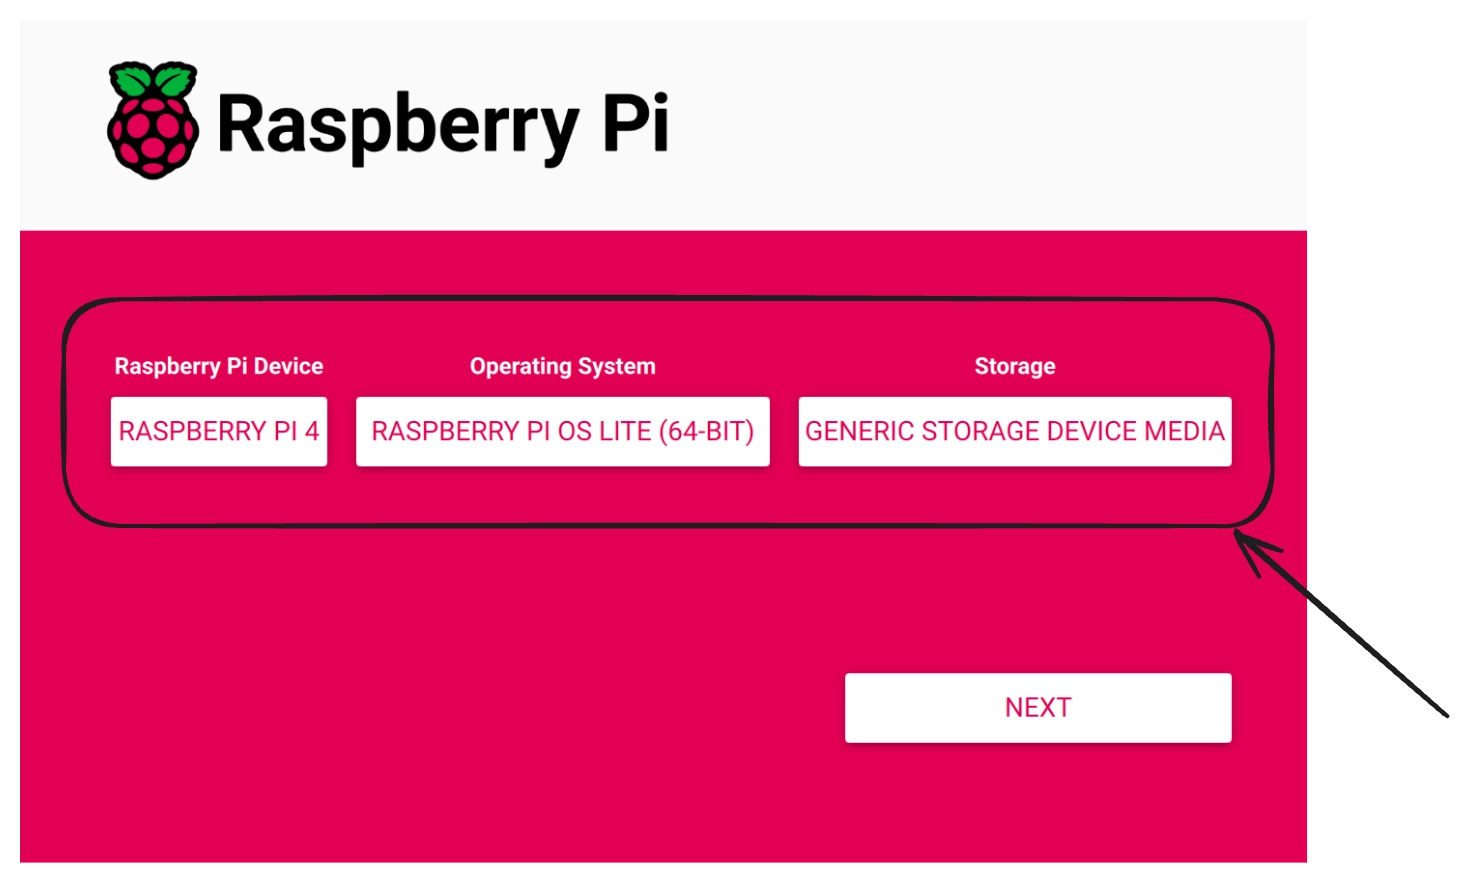
Select your Raspberry Pi device type (Choose Device). In my case, it was Raspberry Pi 4.
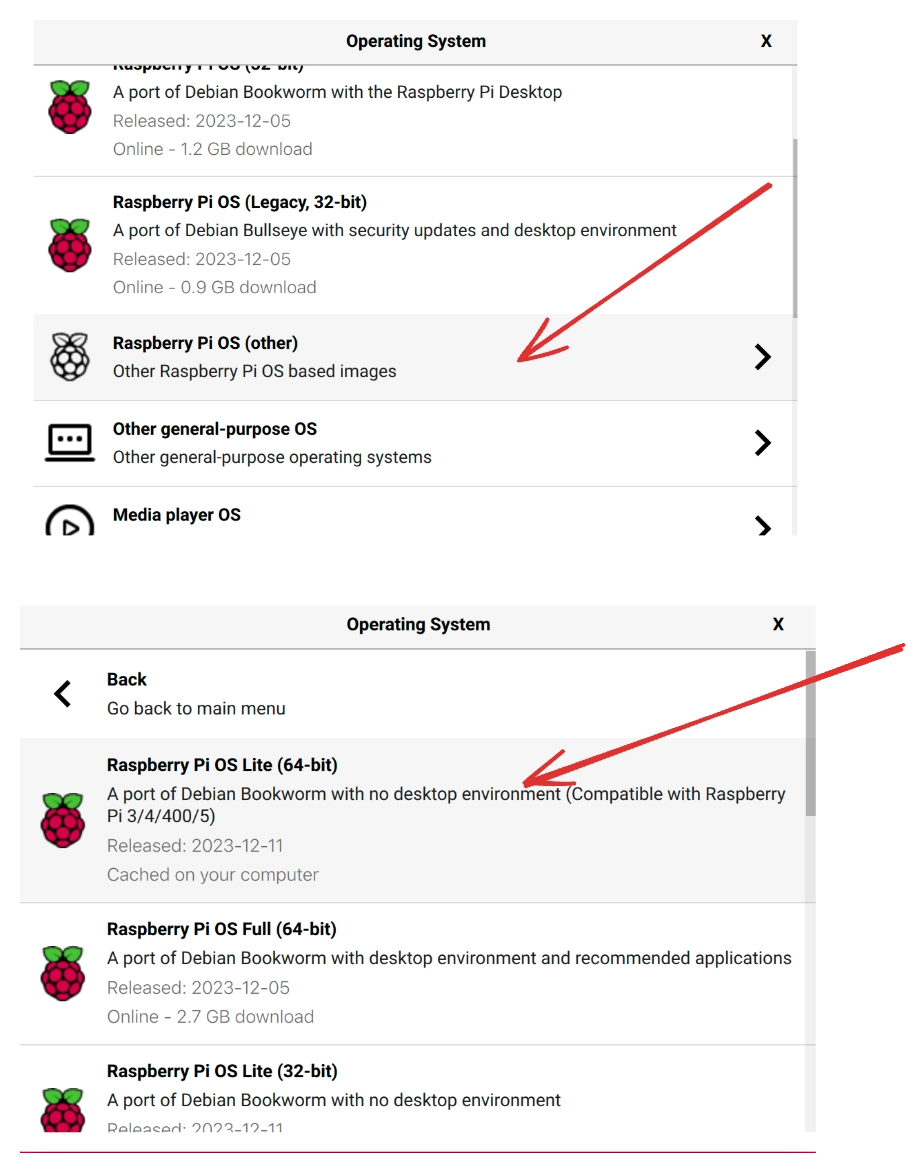
Choose an operating system. I chose Raspberry Pi OS Lite (64-bit). “Lite” because I didn’t need the desktop environment. This is the recommended OS for a headless setup.
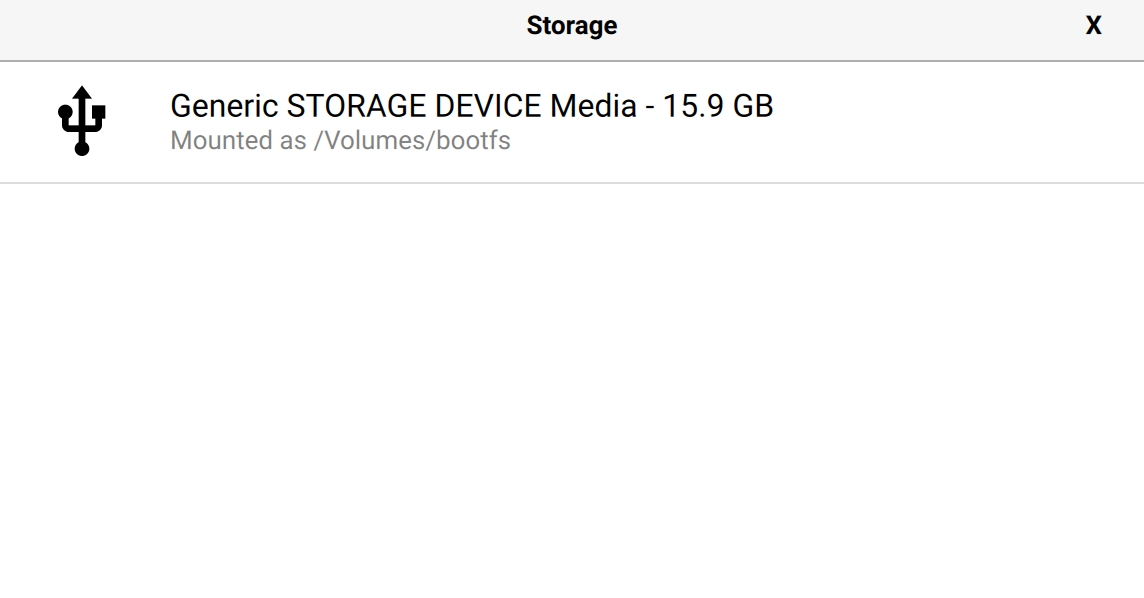
Choose the Storage. This is your SD Card (if you haven’t yet, connect it to your computer). Storage names can be confusing. Verify with the storage size (very important, as the booting process deletes all data).
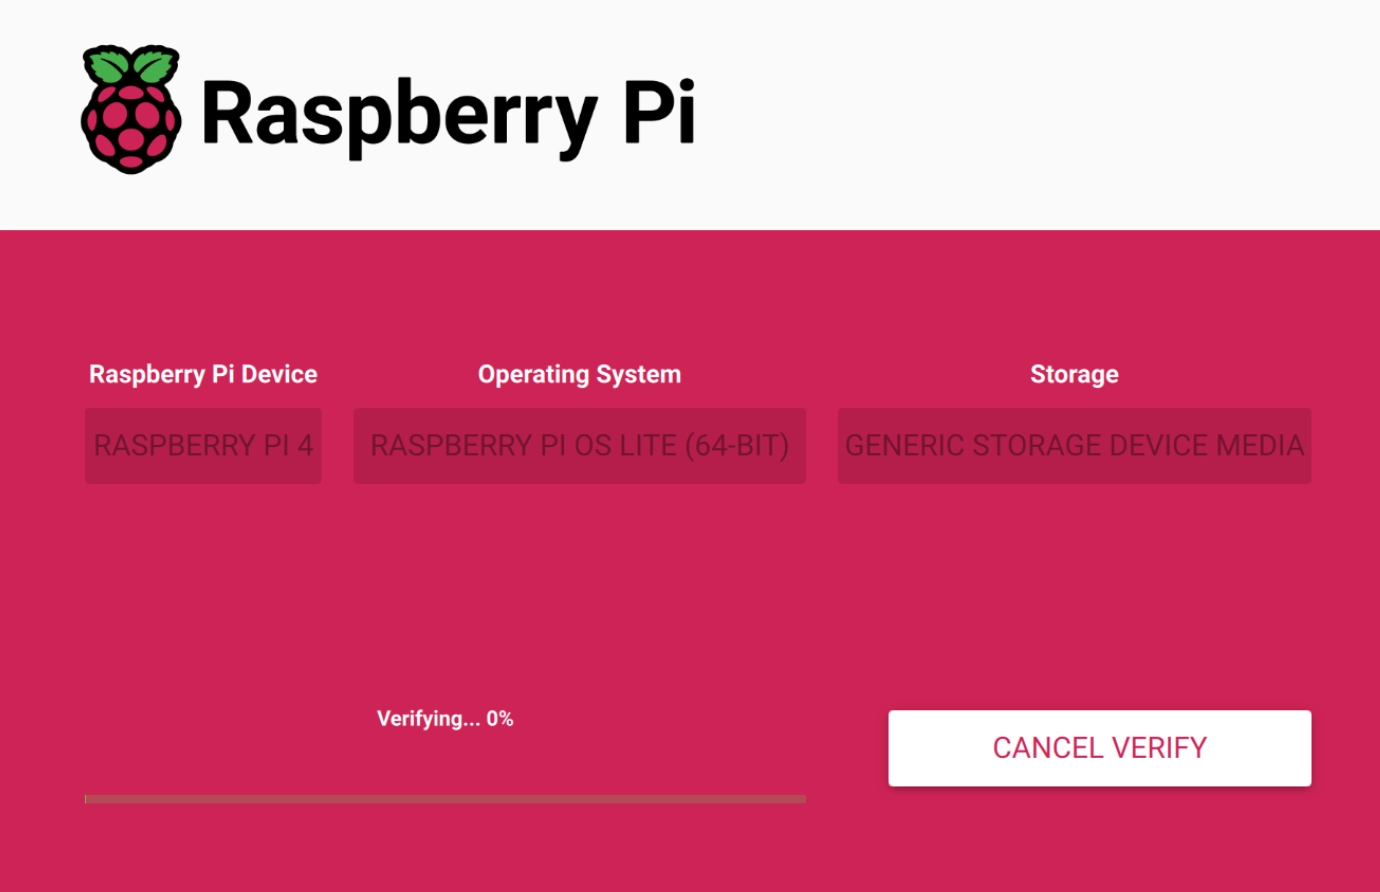
The imager screen will look like this after selecting those 3. Then, click “Next”.
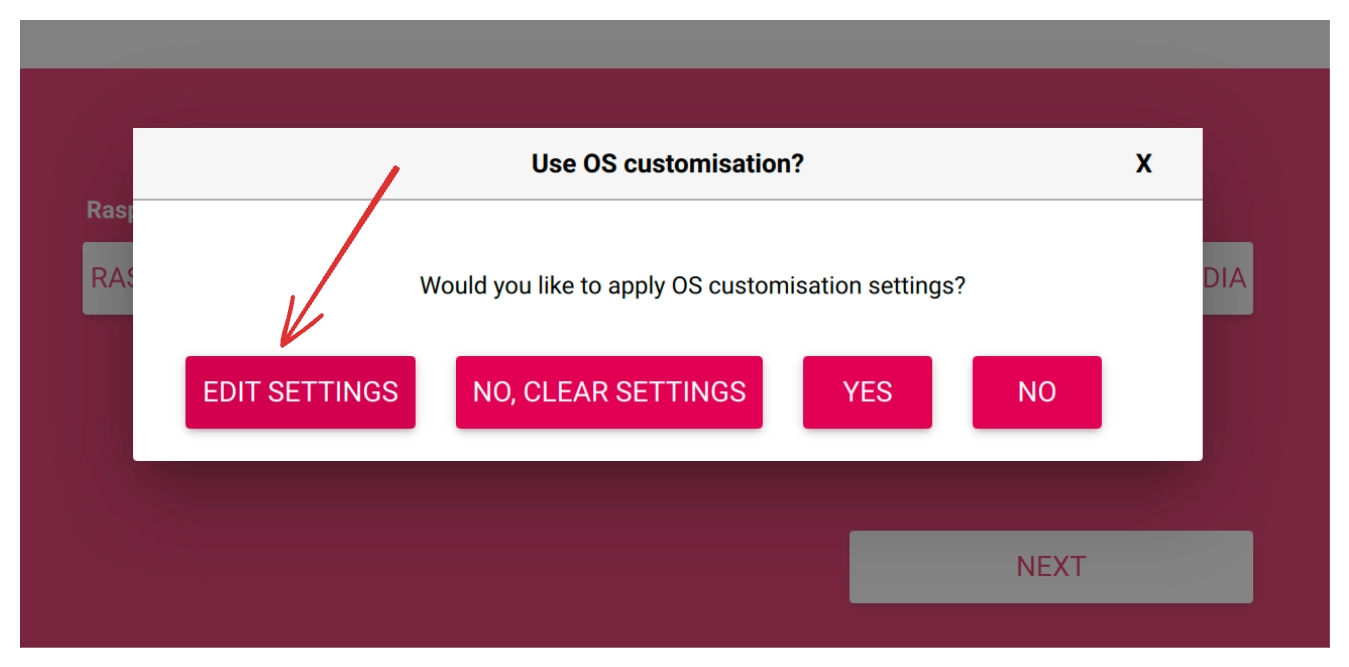
Click “Edit Settings”.
The imager is good enough to automatically fill in the Wifi details from your computer. Make sure these are CORRECT!
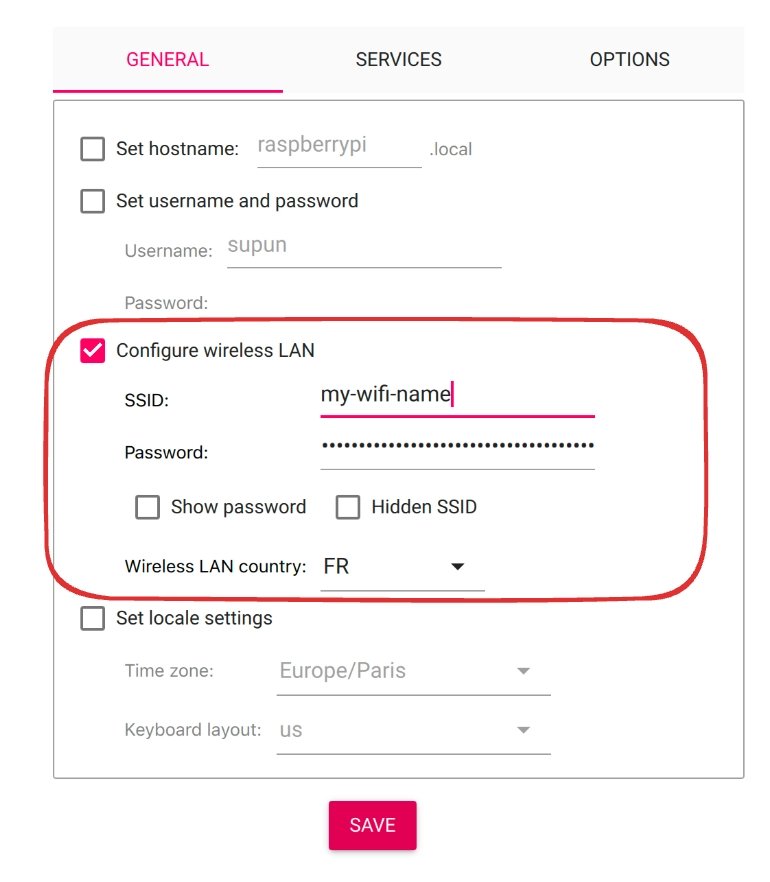
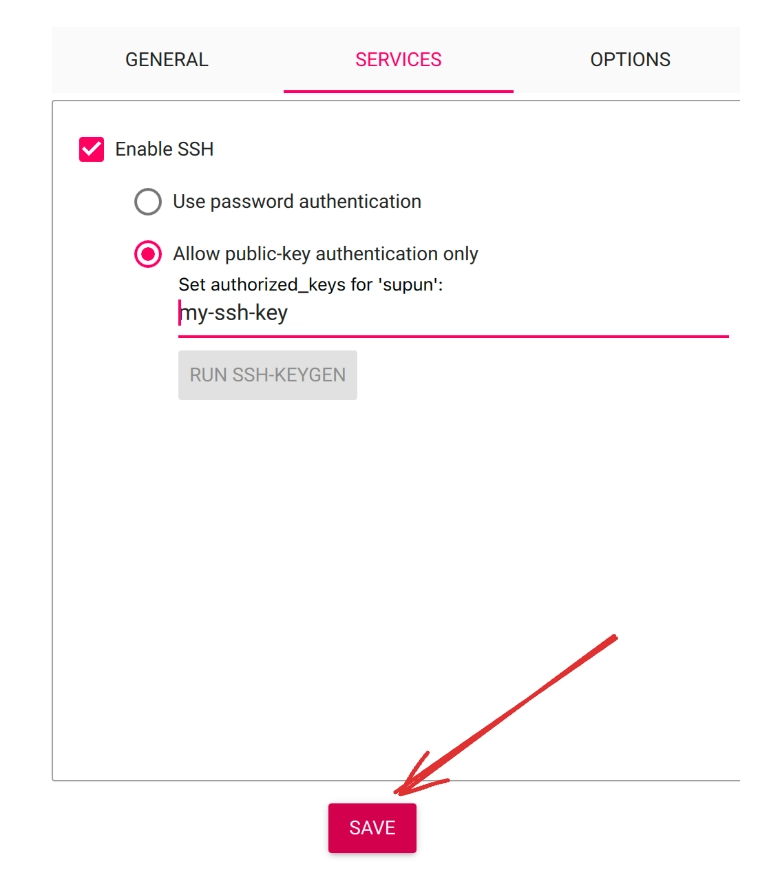
In the next services tab, choose how you want to connect to the Raspberry Pi. If you are already familiar with SSH, I recommend using public key authentication (add your public key in the field). Otherwise, set a password.
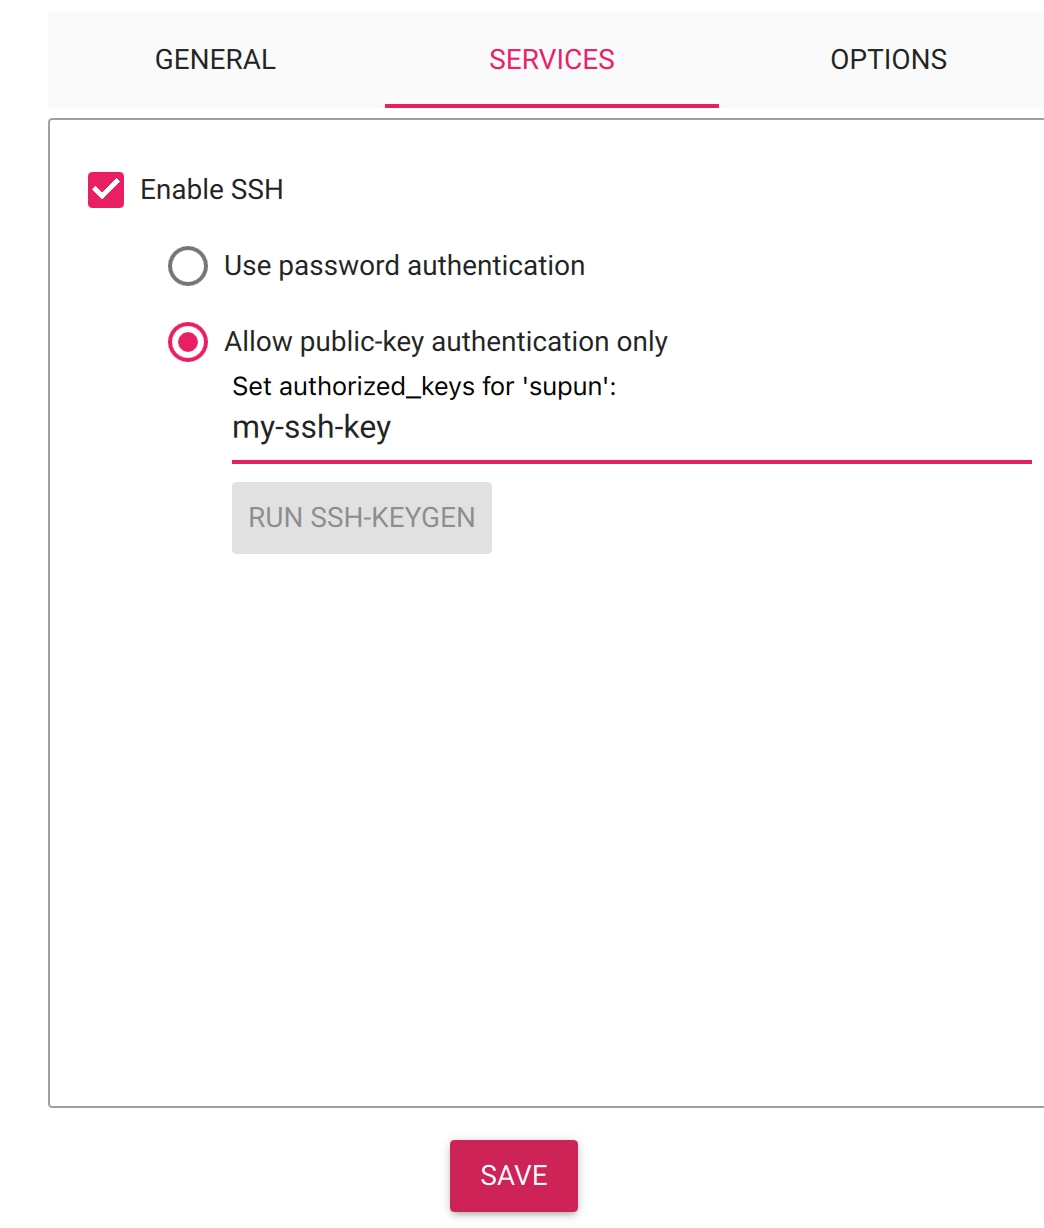
Click “Save”.
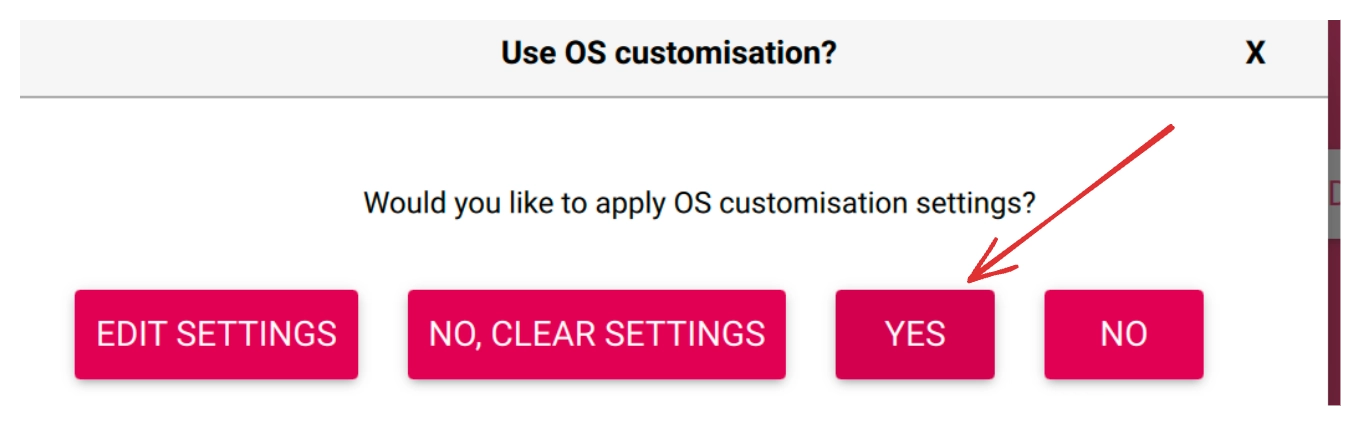
Then, “Yes” and “Yes”.
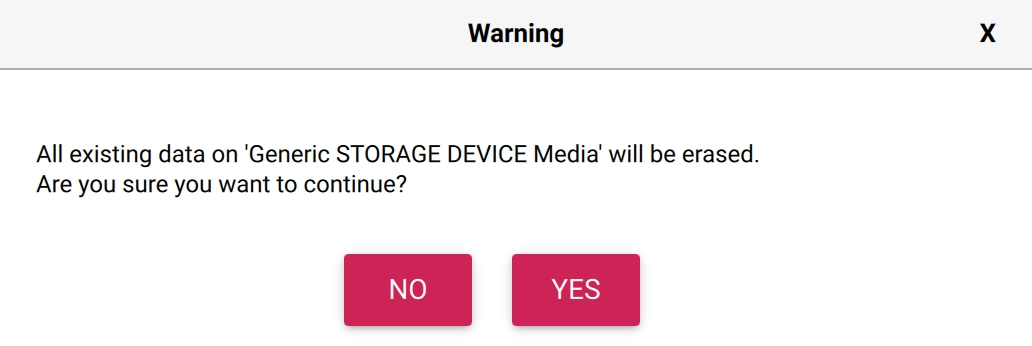
The imager will do its thing and boot the OS into the SD card.
Eject the SD card and remove it.
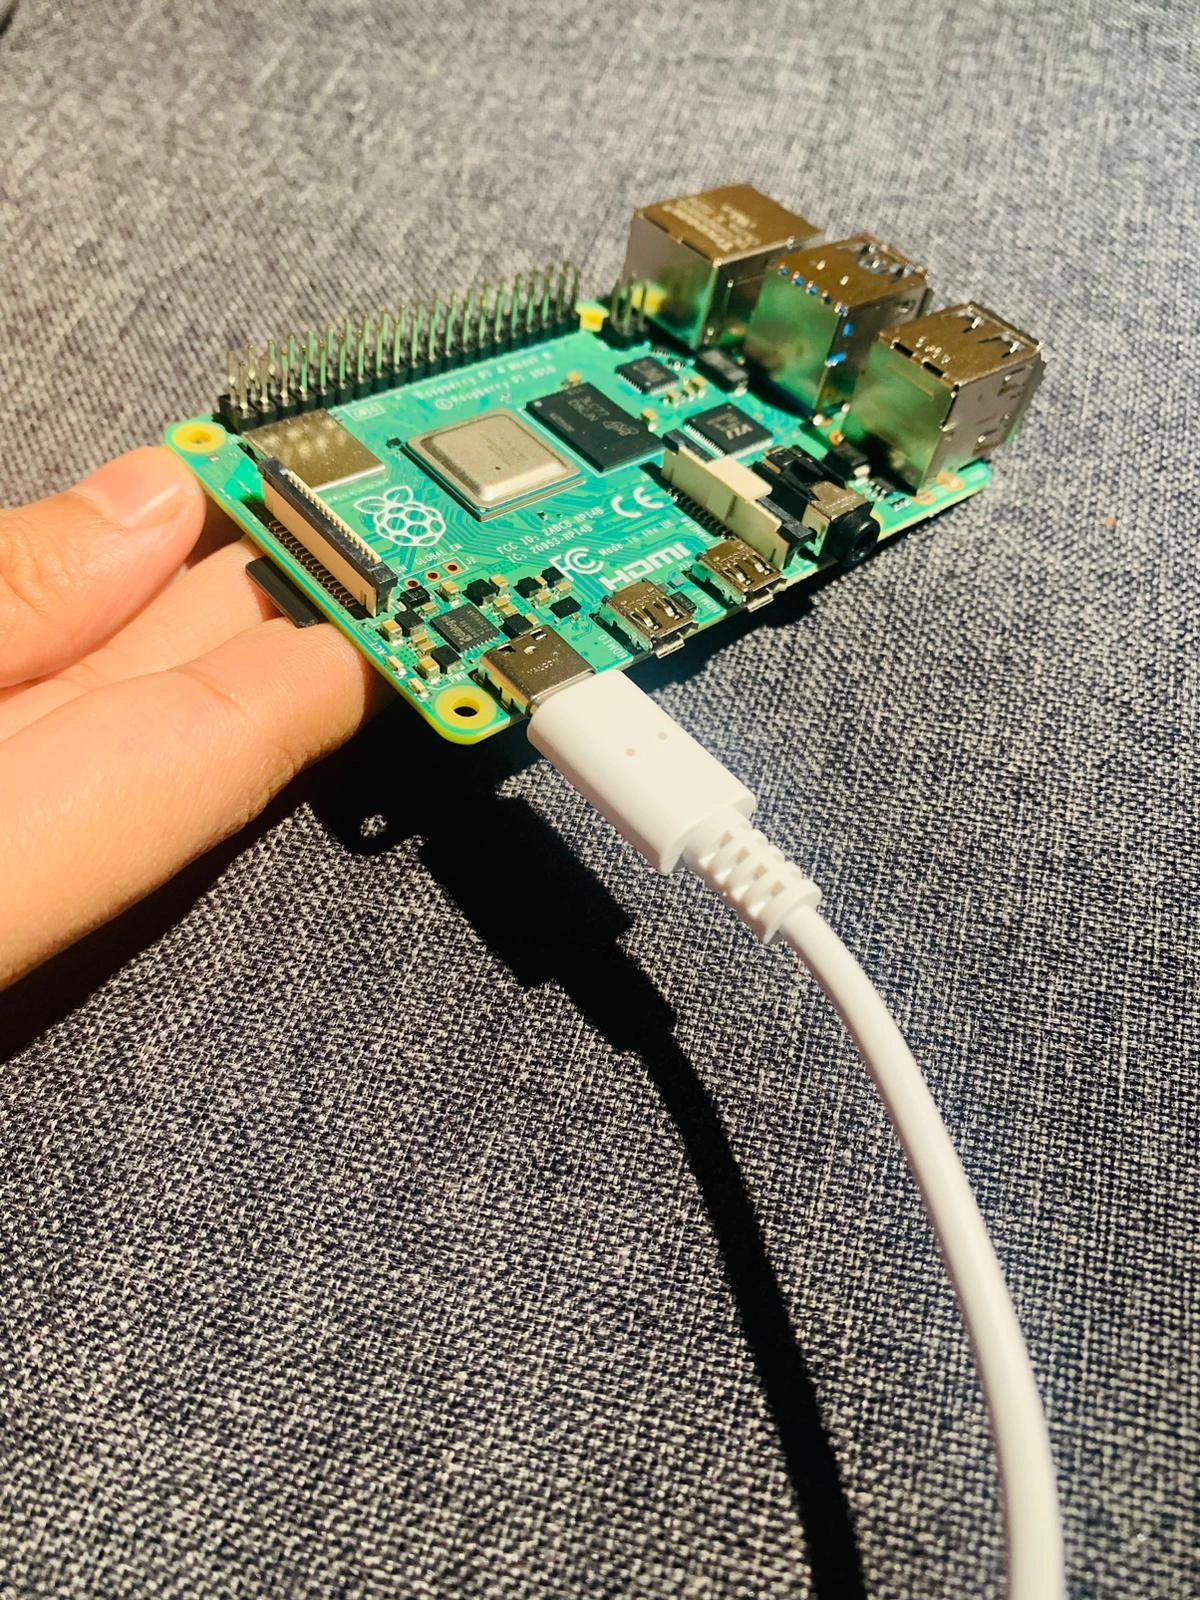
Plug it into your Raspberry Pi. The SD card slot is on the bottom side of the Pi.
Finally, power it!
Wait a couple of minutes. It can take up to 5 minutes for the first boot.
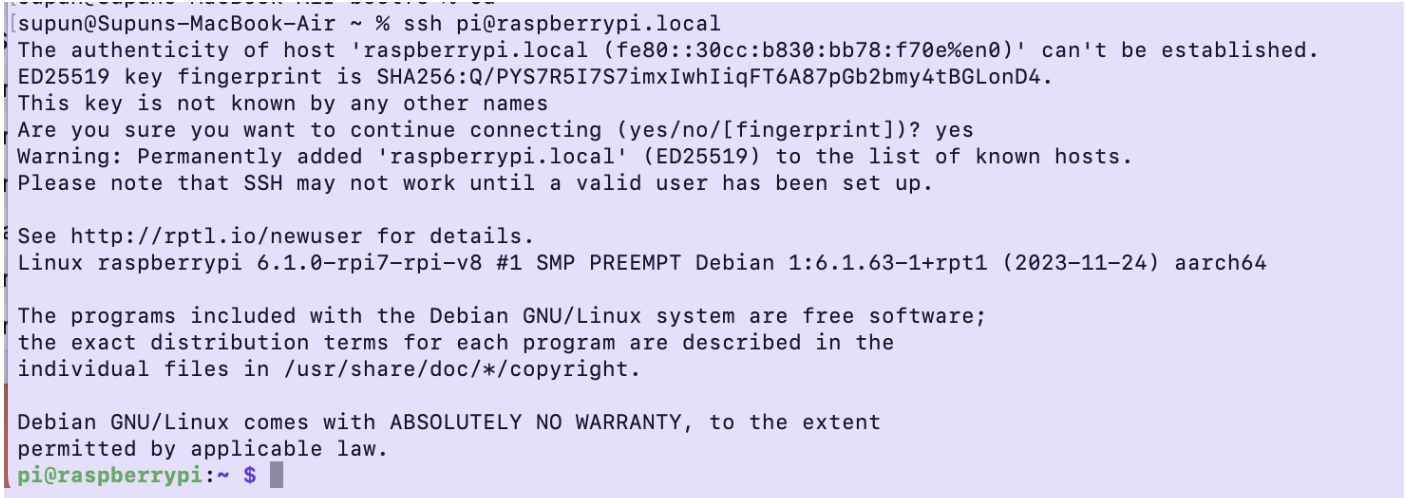
Then, open the terminal/command line on your computer and connect to the Raspberry Pi via SSH. If you used a password, you will be prompted to enter it.
1ssh pi@raspberrypi.localIf all went well, you’ll be connected to your Raspberry Pi 🎉
If you cannot connect to it,
try again waiting for a few more minutes.
make sure both your computer and the Raspberry Pi are connected to the same Wifi network.
there may be many other reasons. Try online help :)
Installing Pi-Hole
Raspberry Pi has a nice tutorial on how to set this up. I’ll explain the steps here. If you need a more in-depth understanding of the concepts, I recommend reading their tutorial.
1curl -sSL https://install.pi-hole.net | bashContinue when warned about static IP address
Interface:
wlan0DNS Provider: OpenDNS
Yes for StevenBlack’s Unified Hosts List
Yes for Install the Admin Web Interface
Yes for web server and PHP modules
Enable query logging
I selected the privacy model "show everything". I’ll maybe change this later.
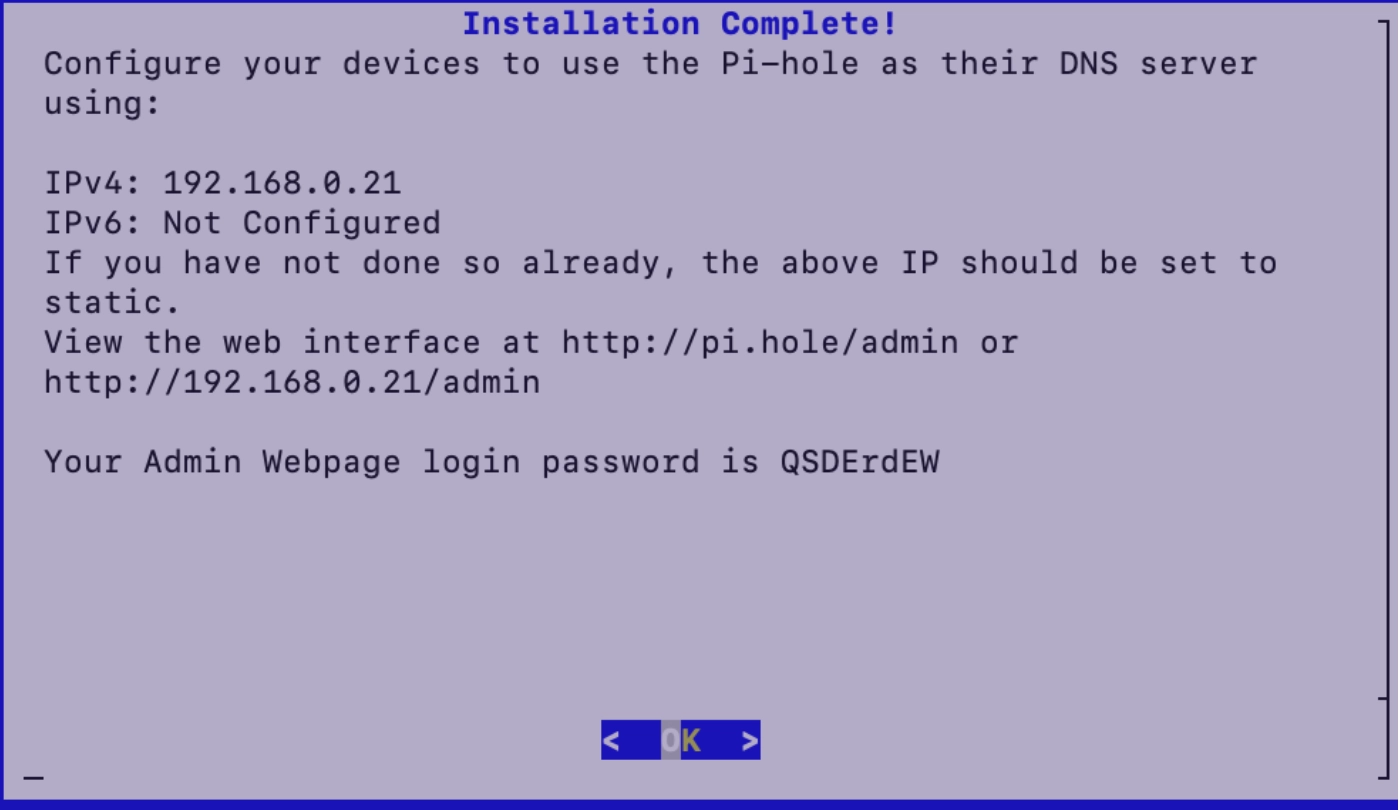
Once the installation is completed, you will see the following details. You will need the login password to log into the admin panel. So, make sure to save it.
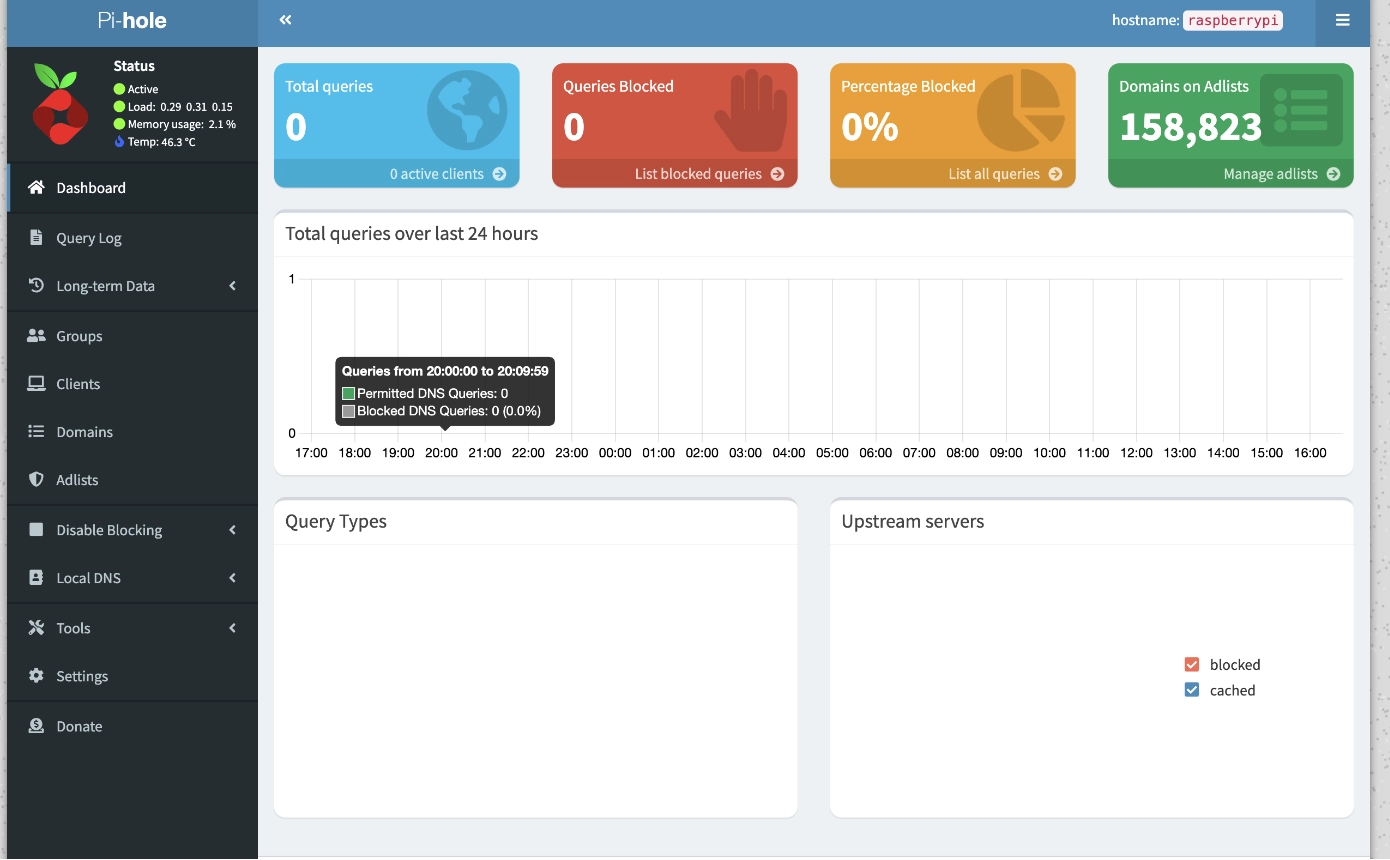
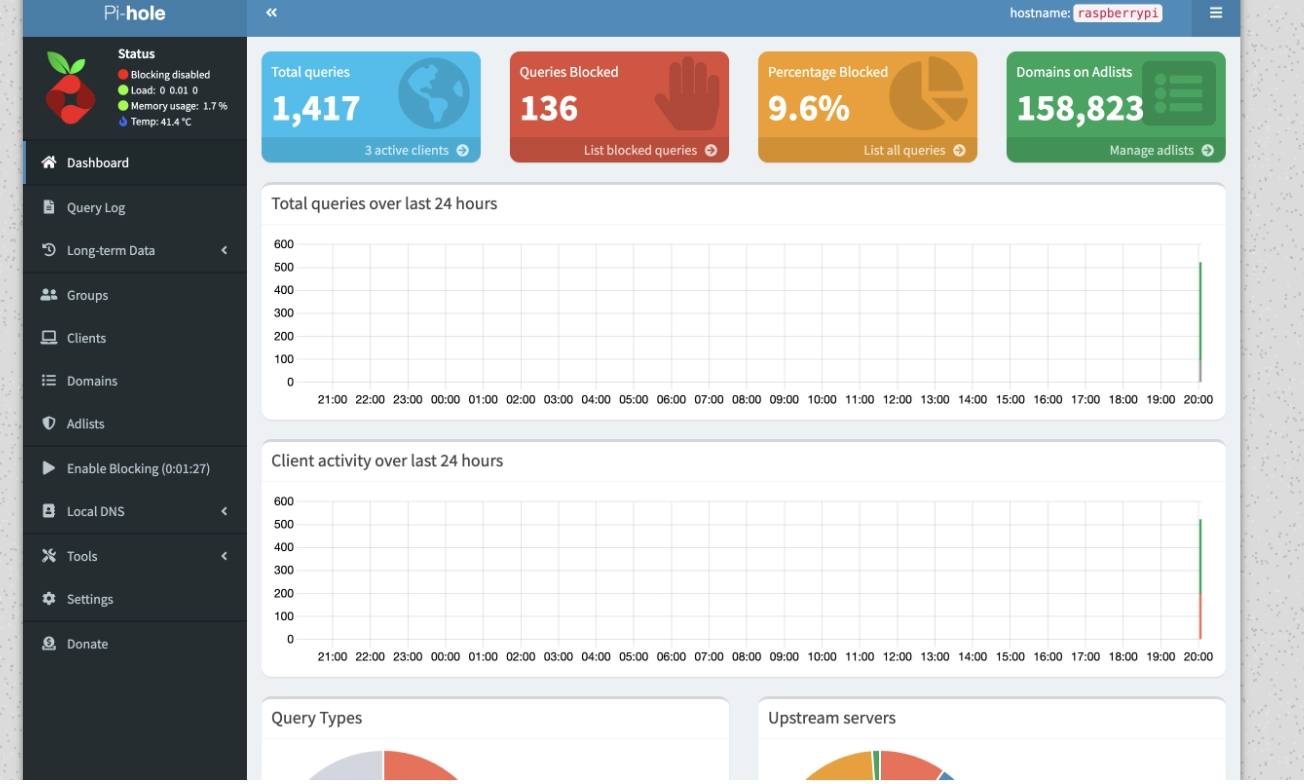
Next, visit the admin URL (IP version, not the pi.hole/admin one) and log in. You’ll see the Pi-hole dashboard.
Updating Router Config
Well, this part will REALLY depend on your ISP/Router. However, the basic idea is the same.
Now, we want to set up the Raspberry PI as our primary DNS resolver for the Wifi network.
Static IP for the Raspberry Pi
The first step is to make sure the IP address of the Raspberry Pi does not change everytime it restarts or reconnects to the network. This is pretty straightforward, but depends on your ISP. I’m using SFR, a French ISP. You should see a similar configuration in your Router settings as well.
Within an SSH session in your Raspberry Pi, run the following to find the Mac Address of it.
1nmcli -f GENERAL.HWADDR device show wlan0Then, run the following to find the local IP address.
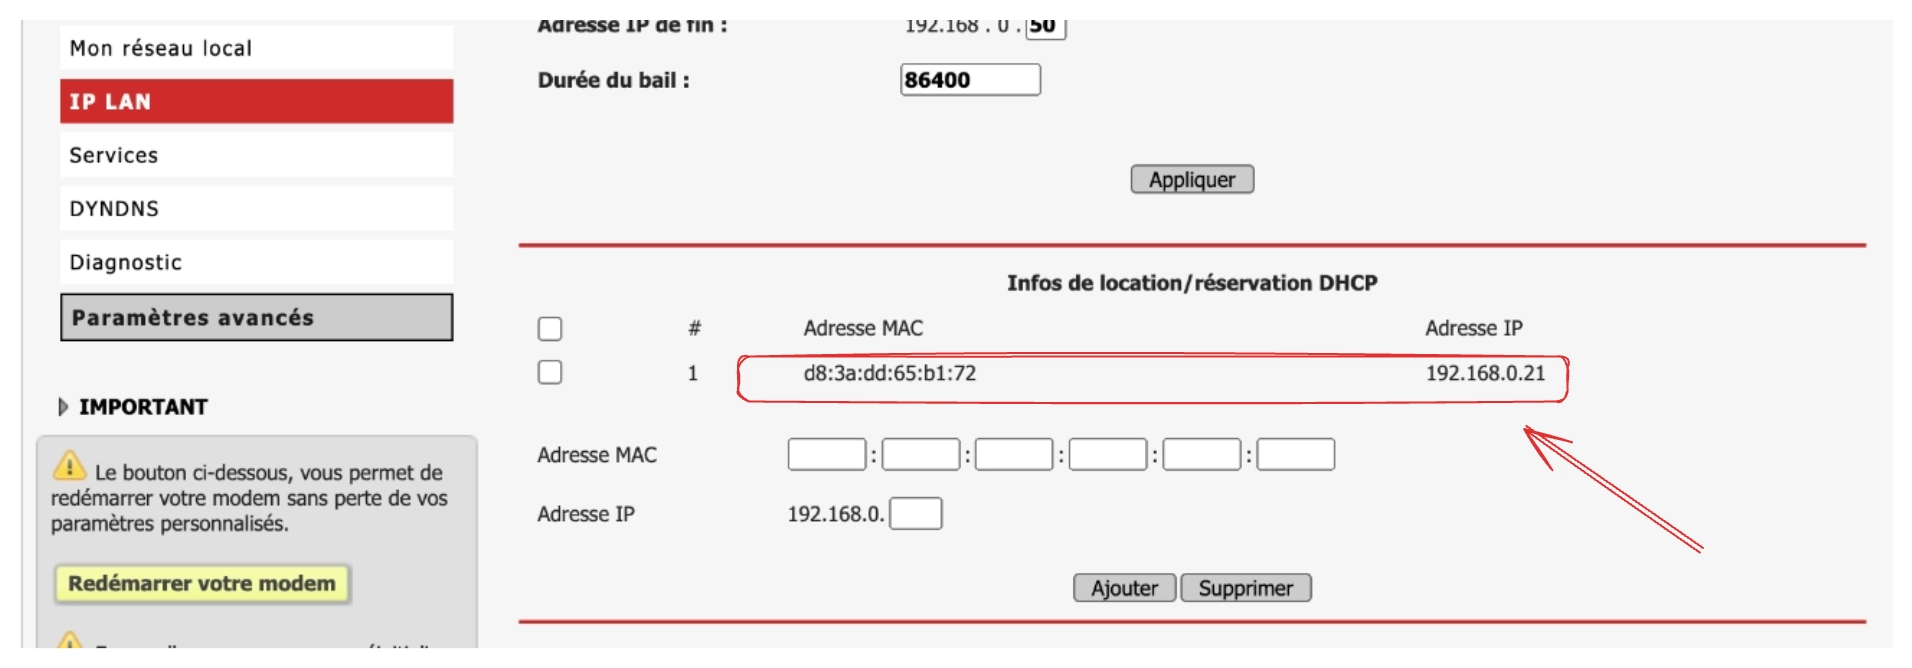
1hostname -IThen, set a static IP address for that Mac Address in your router settings.
Change your primary DNS
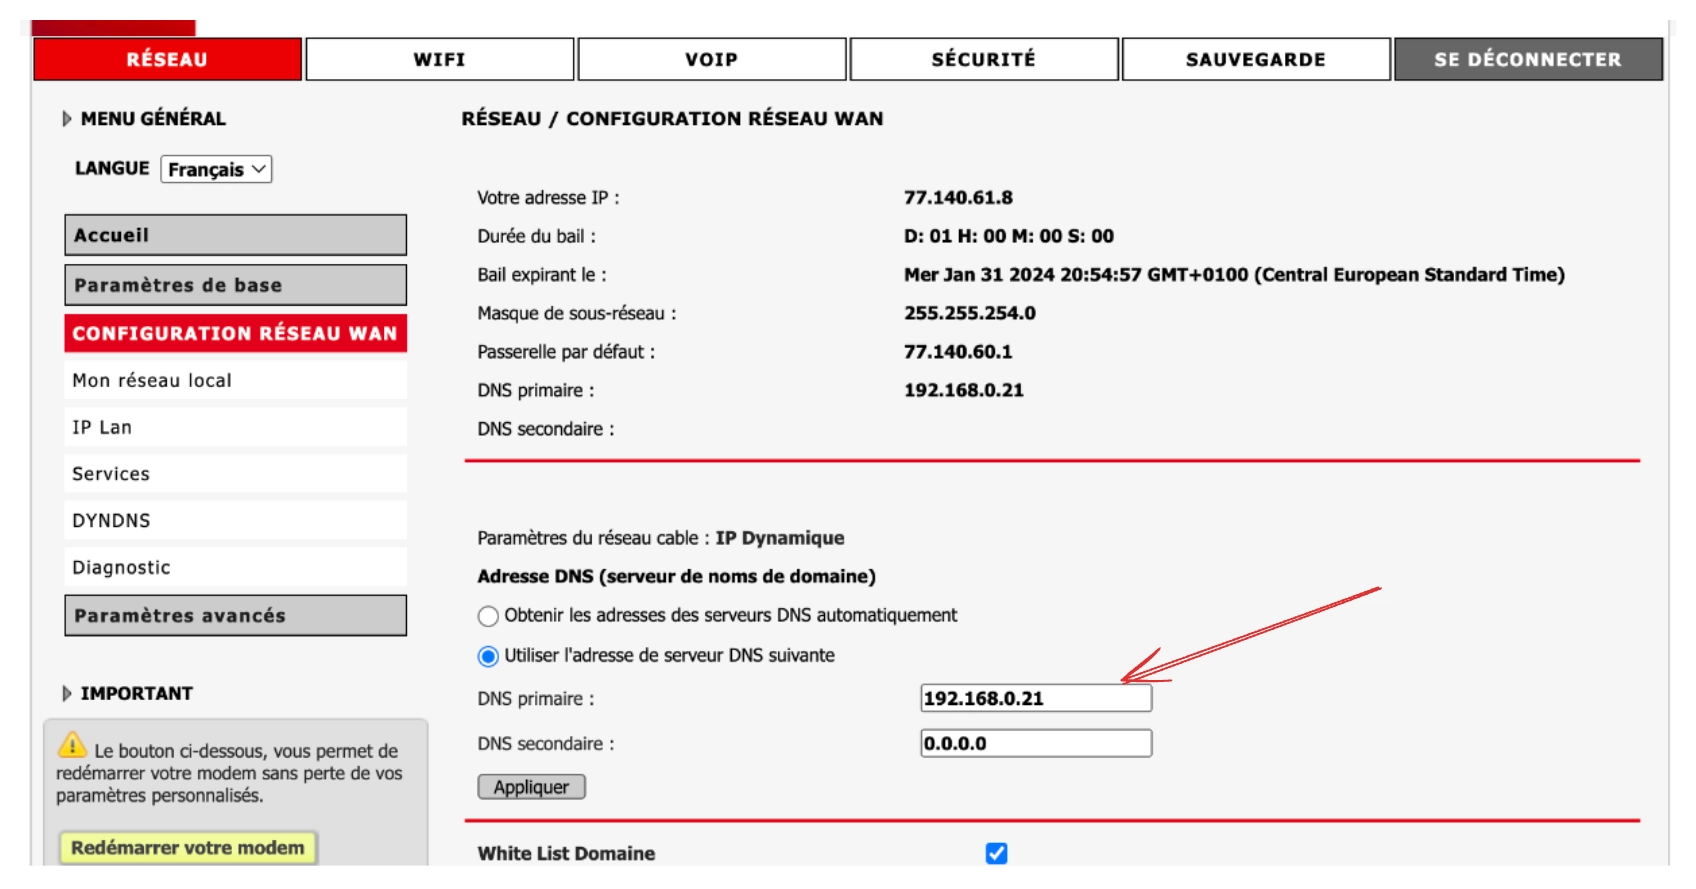
Finally, set the primary DNS server IP address to the local IP address of the Raspberry Pi.
And, done! You should be able to visit http://pi.holefrom your web browser to see the Pi-Hole dashboard.
And, all devices in your network should block most ads by default, without needing additional extensions.
Here’s how it works. Previously, your router used an ISP-specific DNS server or a public DNS server like Google DNS to resolve domain names into IP addresses. Now, Pi-hole is your DNS server. It simply resolves known ad domains into something unroutable like 0.0.0.0 so that all requests to that domain will fail.
Next, feel free to play around in the Pi-hole dashboard to find all the configuration options it provides. You have the option to block/unblock specific domain names, and many other features.
The end
I hope this helps you set up a Pi-hole server in your home network for ad blocking. It was definitely an interesting project. Pi-hole has been running on our home network for a few months, and it works great. I never needed any maintenance so far.
Comments